Tuesday, February 27, 2018

Remember This - Altenew Education Certification Program Project


Today's card is inspired by the beautiful Remember This stamp set from Altenew.  Layering stamps are wonderful and for me they are the most fun when you get to layer different elements within the same image.  These pretty rosebuds are the result of 4 different stamps.  Two for the roses and two for the leaves.  The result is one cohesive image of beautiful rosebuds about to bloom.  Please look below for a list of all supplies used in the making of this card.

To showcase the beauty of these images, I kept the rest of the card fairly simple.  I started by stamping  a 4 1/4" x 5 1/2" panel with another image included in the set, using Altenew Jet Black Ink.  Using a circle die, I cut out a portion of this panel.  On another panel of the same size, I stamped a sentiment from Altenew's Painted Inspiration, in Versafine Black Ink.  I then embossed it with clear embossing powder to give it some shine and dimension.  I layered the flower panel over the sentiment panel with foam tape in the middle.

I stamped and die cut 5 of the rosebud images and one of the largest flower image to create my springtime wreath.  The flowers are stamped with colors from the Cherry Blossom Mini Ink Cube Set and the leaves are stamped with the Field Greens Mini Ink Cube Set.  I popped up the large flower and every other rosebud around the circle opening using foam squares.  This created beautiful dimension to my card.

Finally, to add some shine I placed Pretty Pink Posh Dew Drops around the finished card and attached the entire panel to a card base.

Thank you so much for spending time with us today :)

Joanne and Penny

If you make a project inspired by this post please tag it with #perkypennypapers on Instagram and I will be able to see it :)  Thanks again.

Please feel free to share this blog, subscribe and follow me on Instagram at PerkyPennyPapers. It means so much to me and inspires me in my card making. 
   

Supplies:
Scotch Foam Tape
Scotch Foam Tape
Shop at:
EH | SSS
Neenah Cardstock
Neenah Cardstock
Shop at:
EH | SSS
Nuvo Deluxe Adhesive
Shop at:
SB | SSS
Tim Holtz 8.5 Paper Trimmer
Shop at:
EH | SB | SSS
Spellbinders Platinum 6
Shop at:
SB | SPEL | SSS
Inkadinkado Embossing Magic Bag
Shop at:
EH | SSS
Hero Arts Embossing Gun
Shop at:
EH | SB | SSS
Tombow Dots Tape Runner
Shop at:
SSS
Hero Arts Circle Infinity Dies
Shop at:
EH | SB | SSS
Wow Clear Embossing Powder
Shop at:
EH | SSS
Marvy Jewel Picker
Marvy Jewel Picker
Shop at:
EH | SSS
Altenew Cherry Blossom Mini Ink Cube Set
Shop at:
EH | SSS
Altenew Green Fields Mini Ink Cube Set
Shop at:
EH | SSS
Altenew Jet Black Ink
Shop at:
EH | SSS
Altenew Painted Inspiration Stamp Set
Shop at:
EH | SSS
Altenew Remember This Stamp Set
Shop at:
EH | SSS
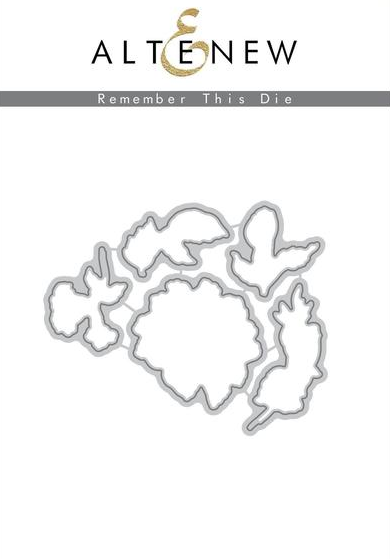
Altenew Remember This Die Set
Shop at:
EH | SSS

Monday, February 12, 2018

Creativation 2018 - Lawn Fawn Spring Preview/ Save The Crafty YouTuber

New on my YouTube channel today is an introduction to the new Lawn Fawn products for Spring 2018.  I filmed it during my recent trip to Creativation.  Kelly Marie will walk us through the pretty new papers, a new way to glue, and some fun and adorable new stamps and dies, and share some fun samples too. 


This line is available for pre-order on Simon Says Stamp so head on over to reserve yours by clicking here.

There is also something very special happening on YouTube today.  There is a wonderful Video Hop put together by Justine Hovey.  YouTube has recently changed how YouTubers like me can monetize our videos. We now must meet subscriber (1,000) and watch time hours (4,000 hours in a 12 month period) to apply for monetization.   Click HERE to check out her blog for more information.  There are many fun videos and lots of prizes too.  Don't forget to click on my subscriber button.  I would so appreciate it.

Thank you so much again for visiting :)

Joanne and Penny

If you make a project inspired by this post please tag it with #perkypennypapers on Instagram and I will be able to see it :)  Thanks again.

Please feel free to share this blog, subscribe and follow me on Instagram at PerkyPennyPapers. It means so much to me and inspires me in my card making. 

Supplies:
Lawn Fawn Sprint 2018 Release
Shop at:
SSS

Friday, February 9, 2018

Ranger Alcohol Inks On Acetate With Foil Accents

I recently watched a video by Jessica over at All The Sparkle, which involved her creating a beautiful panel with Alcohol Inks and then adding foil accents to it.  It blew me away.  I really wanted to try this technique on acetate to create a card with a beautiful stained glass look so I decided to pull out my inks.

I will say I am very new to Alcohol Inks.  In fact, today is the first day I used them and it won't be the last. Check out below for directions and a YouTube video to help you recreate this cool card.
For this piece I chose the Mermaid, Limeade, and Dandelion Alcohol Inks from Ranger, and of course the Alcohol Blending Solution.  In addition to that my supplies included painters tape, some gold Thermoweb Decofoil, a sturdy piece of acetate cut to 5 1/2" x 5 1/4" and scored on the shorter side at 4 1/4" which will give us a standard A2 card front,  a brayer, a piece of scrap paper and two pieces of 100 lb white cover card stock that are both 4 1/4" x 5 1/2".

The process of making this card is quite simple.  I masked off the 1" top of the acetate to keep it free of the ink.  I then proceeded to drop 3 dots each of each of my 3 colors around the acetate somewhat randomly.  I kept a loose triangle shape in mind when placing the drops.  I used the spritzer to blow some of the ink around and added Alcohol Blending Solution to move it around more if the color became dry too quickly.
My goal was to create a nice effect where there were random dark edges around the design.  These dark edges are pooled up Alcohol Ink that take longer to dry than the typical thin layer of ink.  I would say it took me approximately 5 minutes to create a pattern I was happy with.  I then waited a few minutes until the lighter areas of the piece were dry and then applied gold foil by placing the foil sheet over the design and then a white piece of paper over it.  I then got my brayer and applied even pressure back and forth over the foil.  I pulled off the foil and there you have it….a stunning  panel that will make most anyone smile.

To complete the card I folded the acetate at the score line and went over the crease with my bone folder.  I attached the card stock on either side of the 1” extra of the acetate panel and added this gorgeous Thinking of You sentiment die from Altenew. 

As a side note this is a lot messier than I thought it would be.  I would recommend a well ventilated location, some surgical type gloves, and alcohol wipes for quick and easy clean up.

If you would like to check out Jessica's video click here.

I hope I have inspired you to give this a try.

Happy Crafting :)

Joanne and Penny
If you make a project inspired by this post please tag it with #perkypennypapers on Instagram and I will be able to see it :)  Thanks again.

Please feel free to share this blog, subscribe and follow me on Instagram at PerkyPennyPapers. It means so much to me and inspires me in my card making. 
   

Supplies:
Neenah Cardstock
Neenah Cardstock
Shop at:
EH | SSS
Nuvo Deluxe Adhesive
Shop at:
SB | SSS
Tim Holtz 8.5 Paper Trimmer
Shop at:
EH | SB | SSS
Spellbinders Platinum 6
Shop at:
SB | SPEL | SSS
Tombow Dots Tape Runner
Shop at:
SSS
Marvy Jewel Picker
Marvy Jewel Picker
Shop at:
EH
Ranger Alcohol Ink - Dandelion
Shop at:
EH | SSS
Ranger Alcohol Ink - Mermaid
Shop at:
EH | SSS
Ranger Alcohol Ink - Limeade
Shop at:
EH | SSS
Altenew Die - Thinking of You
Shop at:
EH | SSS
Thermoweb Decofoil - Gold
Shop at:
EH | SSS
Tim Holtz Distress Spritzer
Shop at:
EH | SSS

Tuesday, February 6, 2018

Altenew Educator Ceritifcation Program/Sweet and Simple Card

I am so excited to be participating in the Altenew Educator Certification Program.  I am a huge fan of their inks and layering stamps and this just gives me another excuse to play with these beautiful products.  The first lesson is based on the Golden Garden Stamp set.  This is a whimsical floral set that requires little layering and doesn't have to be lined up perfect to look great.  It's one of my favorites :)
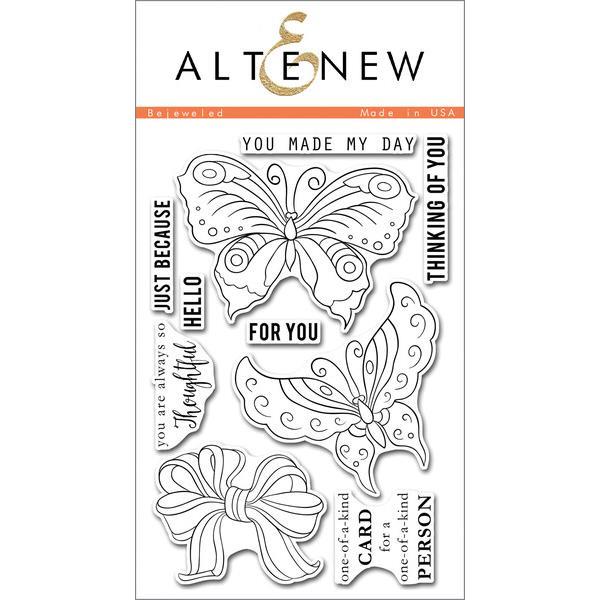
I created this simple card using 3 of the flowers in the set.  I selectively inked the outline stamp, with Altenew Crisp Dye Ink in Jet Black, so I could connect the stems together.  I simply inked up the image, wiped the unwanted parts of ink off with my finger and stamped the image on the desired location on my card panel.  Repeating for each of the 3 stems.  I finished off my black stamping with a sentiment from Altenew's Bejeweled Stamp set.

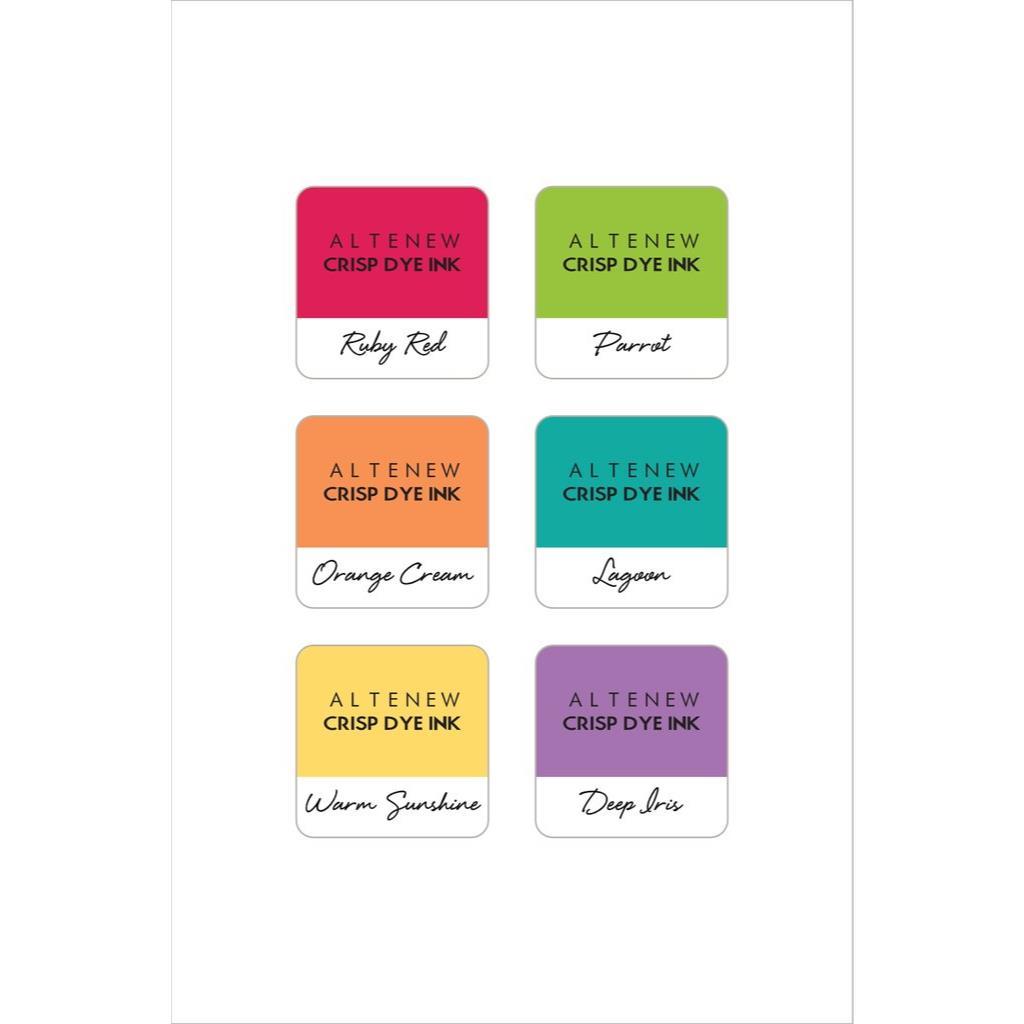
To color the flowers I selectively inked the fill in stamps with Altenew Crisp Dye Ink in Ruby Red and Parrot Ink. This is quit simple as the images are fairly defined and because of the carefree style of the images.  If it isn't exact it doesn't matter in the least.

After I was done with the stamping I trimmed the panel down to 4" x 5 1/4" and popped it up on a black card base with some foam tape.

I will use this card as a go to for gift giving.  It would take no time to create a quick set of thank you or hello cards.

I hope you enjoyed today's card.  I will be back soon with another project. Thank you so much again for visiting :)

Joanne and Penny

If you make a project inspired by this post please tag it with #perkypennypapers on Instagram and I will be able to see it :)  Thanks again.

Please feel free to share this blog, subscribe and follow me on Instagram at PerkyPennyPapers. It means so much to me and inspires me in my card making. 

Supplies:

Scotch Foam Tape
Scotch Foam Tape
Shop at:
EH | SSS
Neenah Cardstock
Neenah Cardstock
Shop at:
EH | SSS
Tim Holtz 8.5 Paper Trimmer
Shop at:
EH | SB | SSS
MISTI
MISTI
Shop at:
EH | SB | SSS
Altenew CDI - Rainbow Prism
Shop at:
EH
Altenew - Golden Garden
Shop at:
EH
Altenew CDI - Jet Black
Shop at:
EH
Altenew - Bejeweled
Altenew - Bejeweled
Shop at:
EH